Phase 1: The Foundation (EC2 & Networking)
Creating a Custom VPC and Launching on EC2
Introduction
Welcome back to the walkthrough! As I transition my full stack applications from managed platforms like vercel to a self managed cloud infrastructure on AWS
In Phase 1, Im are moving away from the “Default VPC” settings. Instead building a custom isolated virtual network from scratch. This is the first step in a 3-Tier Architecture, where I define exactly how traffic flows and who has access to the resources.
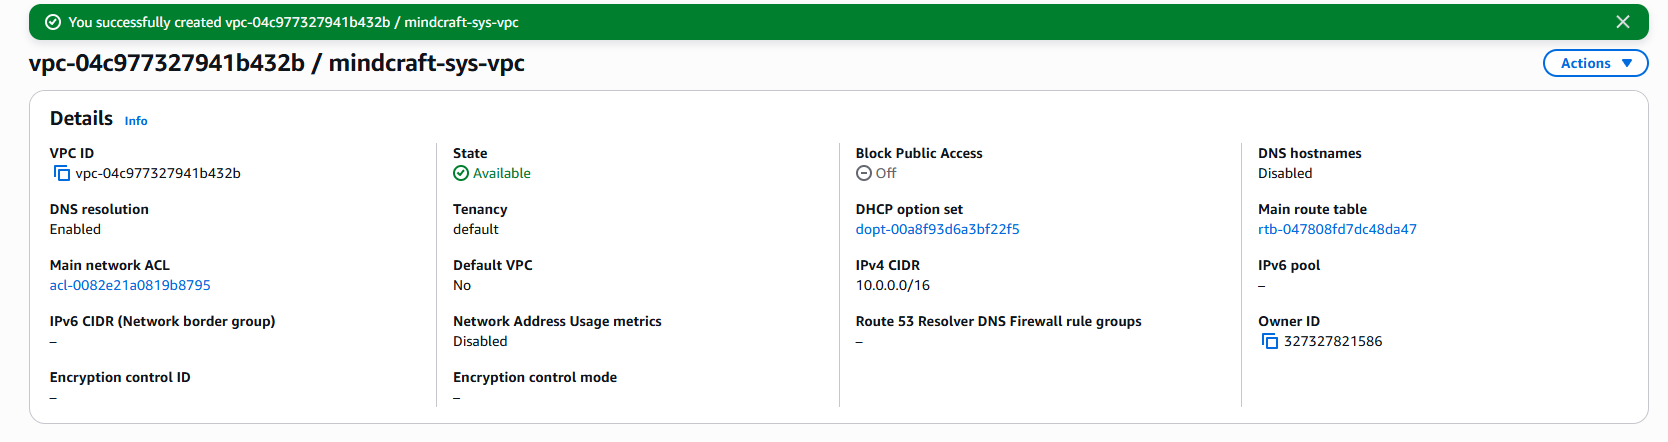
1. Creating the Custom VPC
Using a custom VPC instead of the default one is a DevSecOps best practice. it ensures that the system is isolated from other insecure default resources.
- Result: I initialized
mindcraft-sys-vpcwith a CIDR block of10.0.0.0/16, that will provide many IP spaces for future scaling
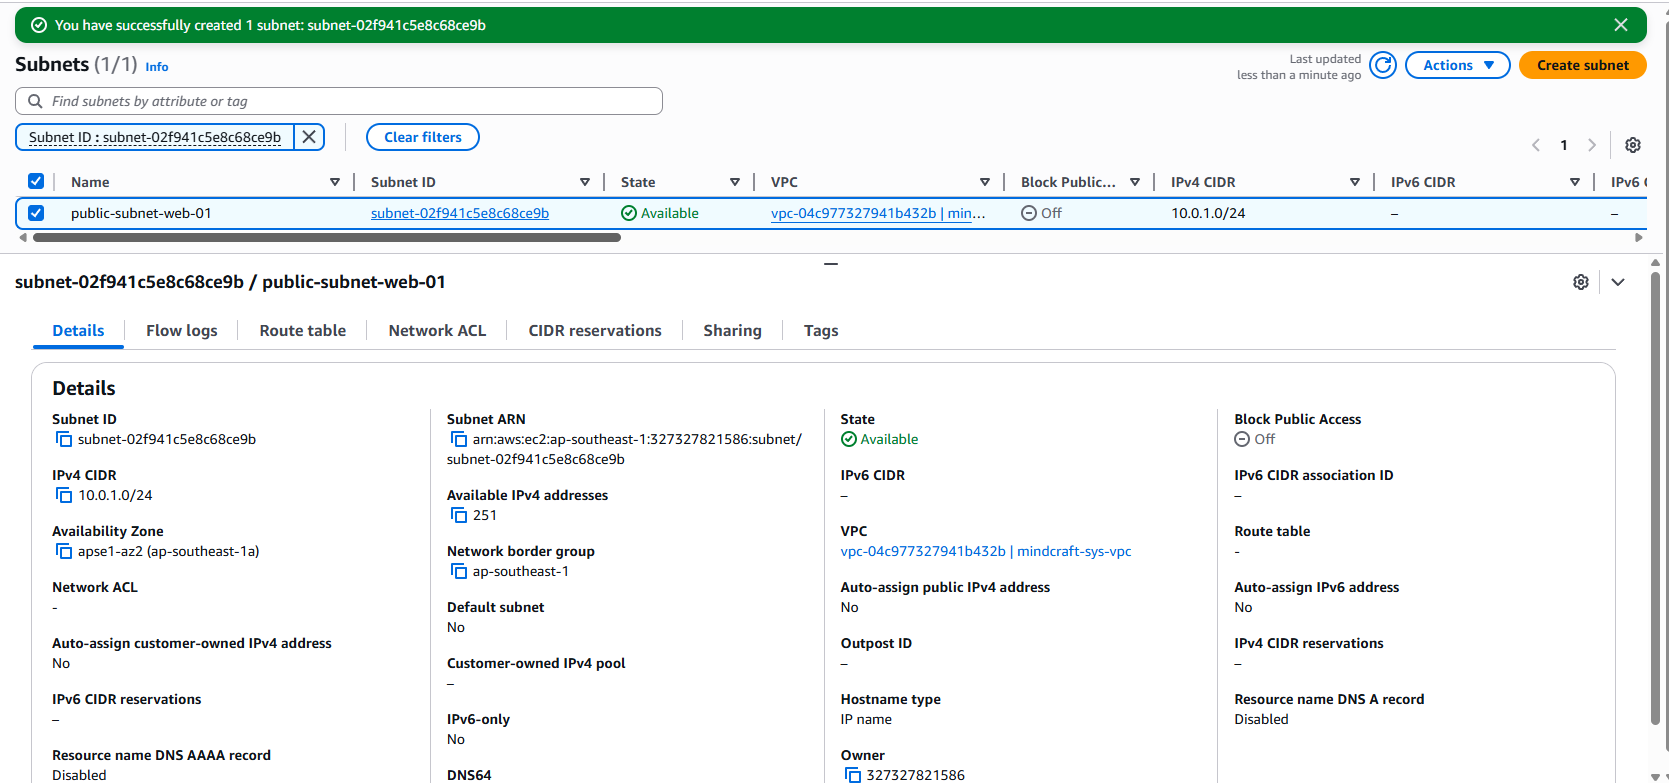
2. Create a Public Subnet
Subnets will allow me to slice and manage the VPC into smaller sections
- Result: I Created the public subnet with the CIDR of
10.0.1.0/24
Ps: enabled “Enable auto-assign public IPv4 address” to allow the EC2 instant to get an IP it can reach
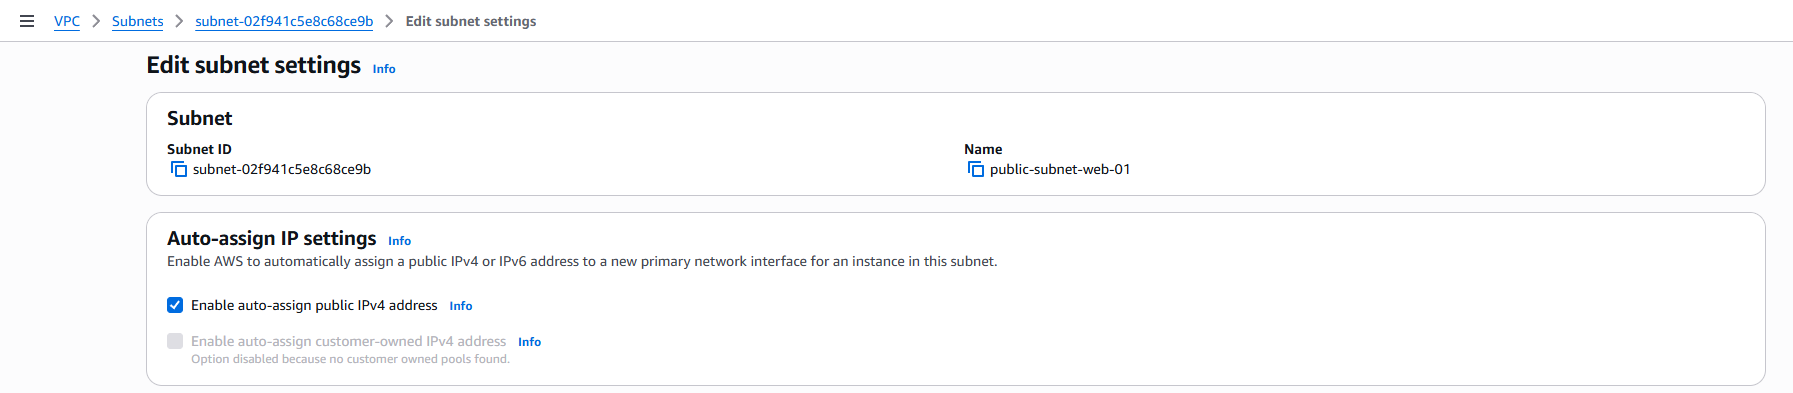
The “Public” Secret: A subnet isn’t “public” just by name. I had to manually enable “Auto-assign public IPv4” and later connect it to an Internet Gateway.
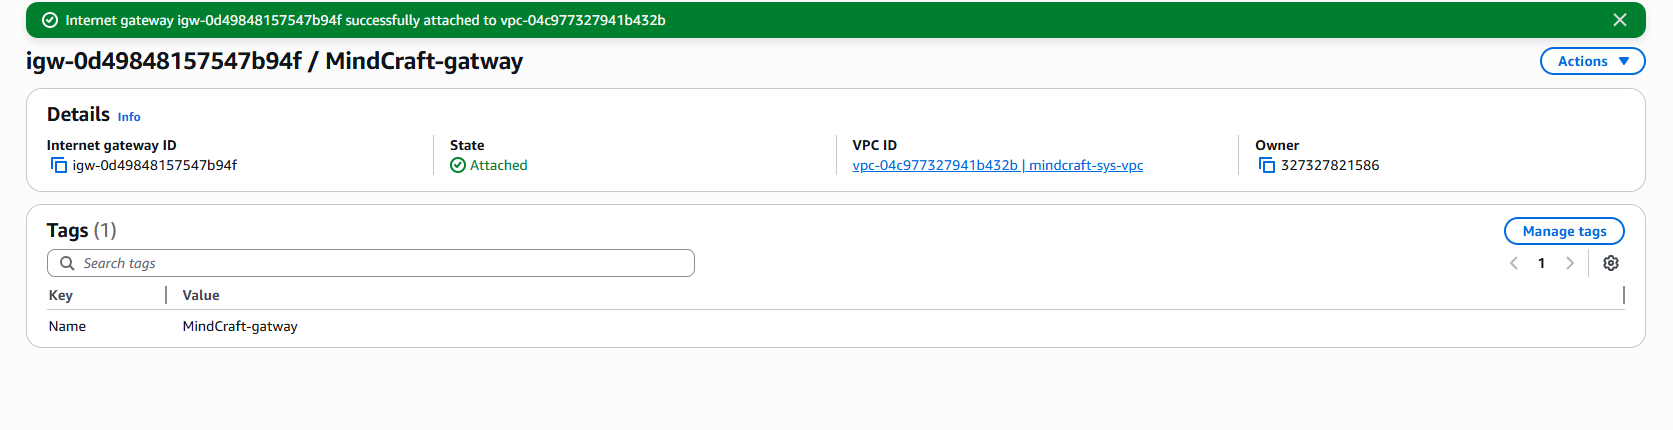
3. Create an Internet Gateway
after creating the VPC and since its a private by default i needed to create a internet Gateway to allow the machine to connect to internet
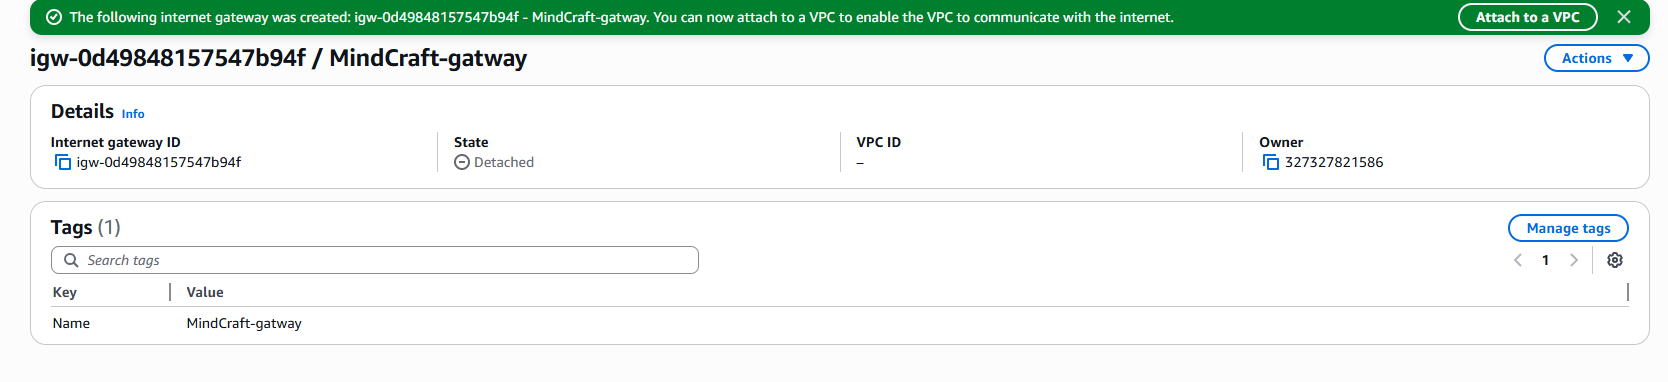
now after creating the gateway, it need to be attached to the VPC
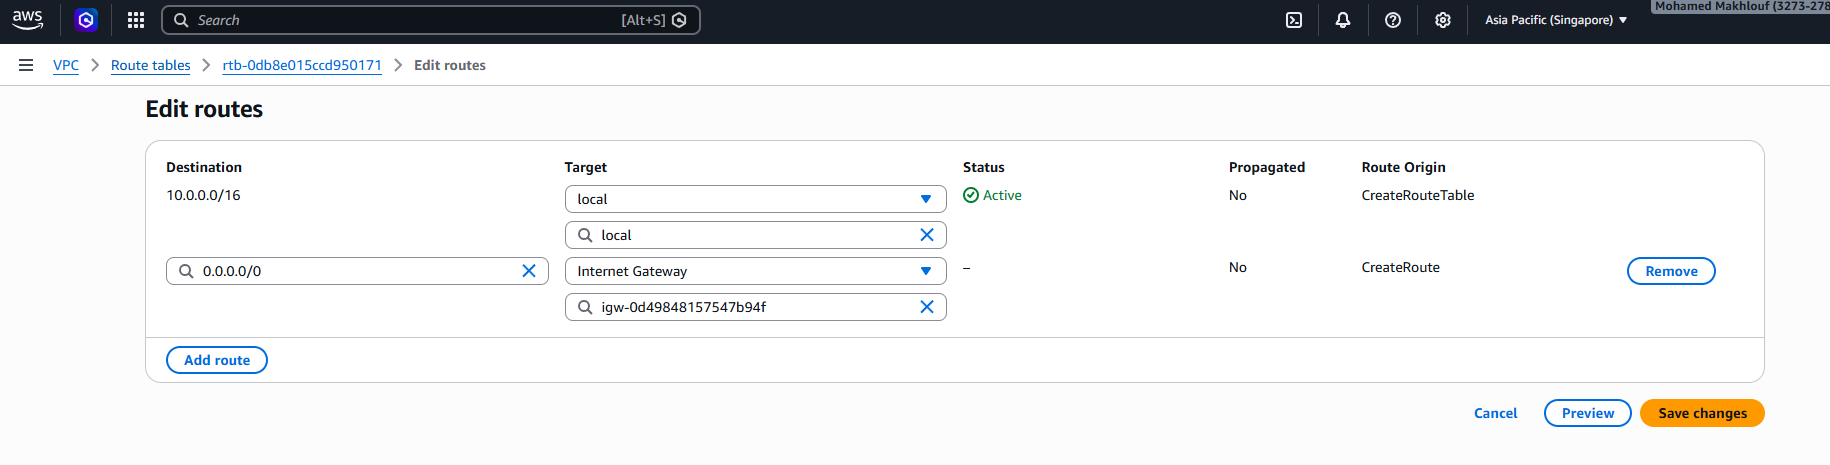
4. Configure the Route Table
for the next step, I updated the main route table to direct all outbound traffic (0.0.0.0/0) to the new Internet Gateway.

after creating the table, the next step is to direct the traffic to the gateway by editing the route
5. Launch the EC2 Instance
Finally, I launched an Ubuntu 22.04 LTS instance into the new subnet.
**EC2 machine Specification ** :
- Name:
mindcraft-phase1 - OS:
Ubuntu 22.04 LTS - Key Pair: Created a new keypair
.pem - Network Settings: below
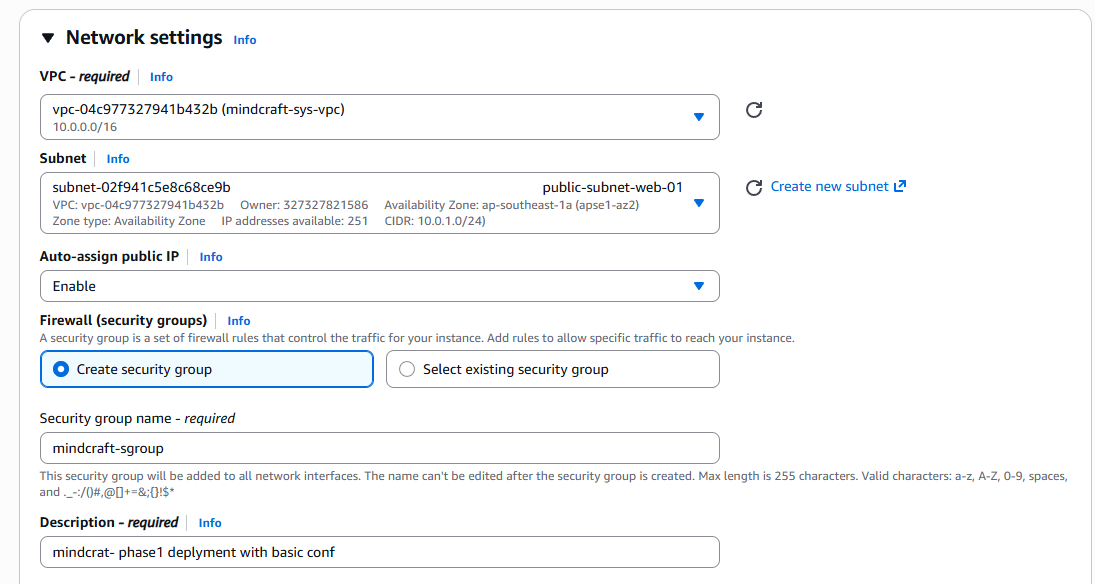
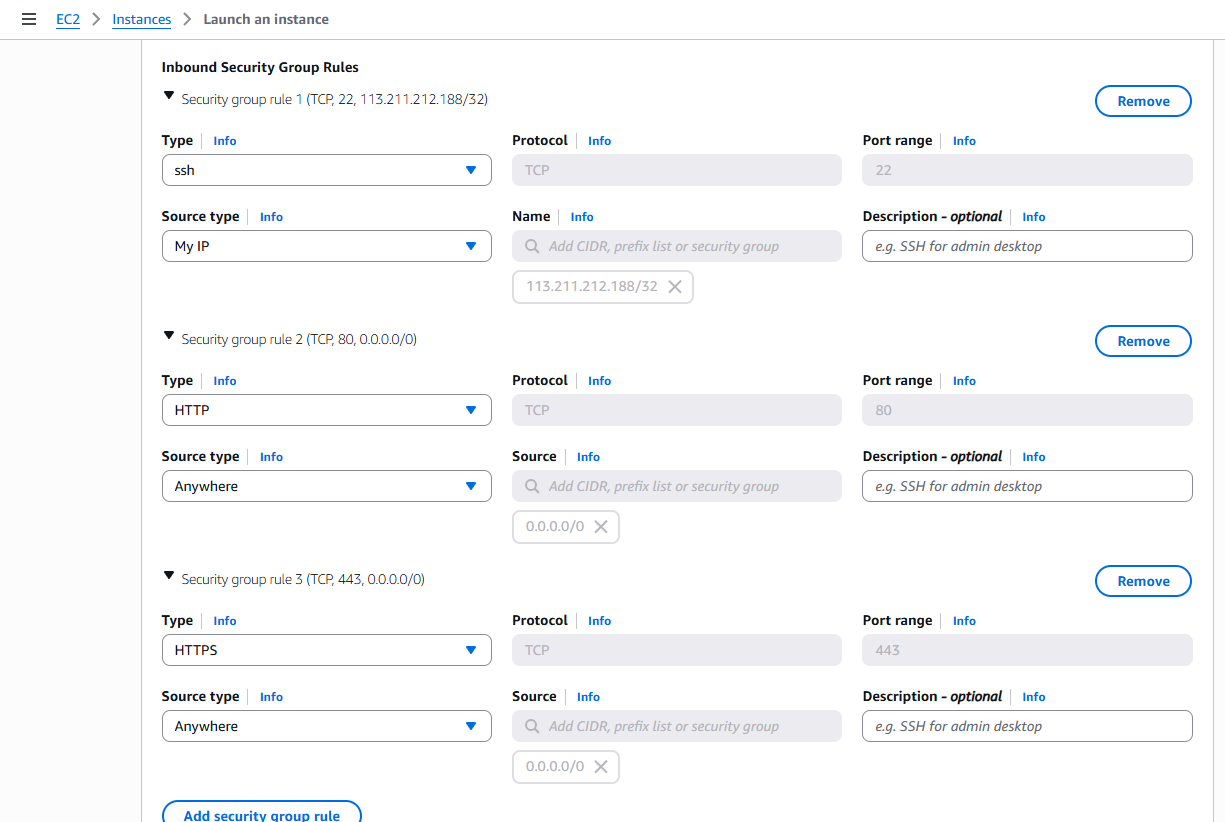
Security Group (Firewall): current simple rules for security group
Rule 1 (SSH): Port 22 Source: My IP (Never “Anywhere”). Rule 2 (HTTP): Port 80 Source: Anywhere. Rule 3 (HTTPS): Port 443 Source: Anywhere.
and Finally for this Phase1 the instance is launched
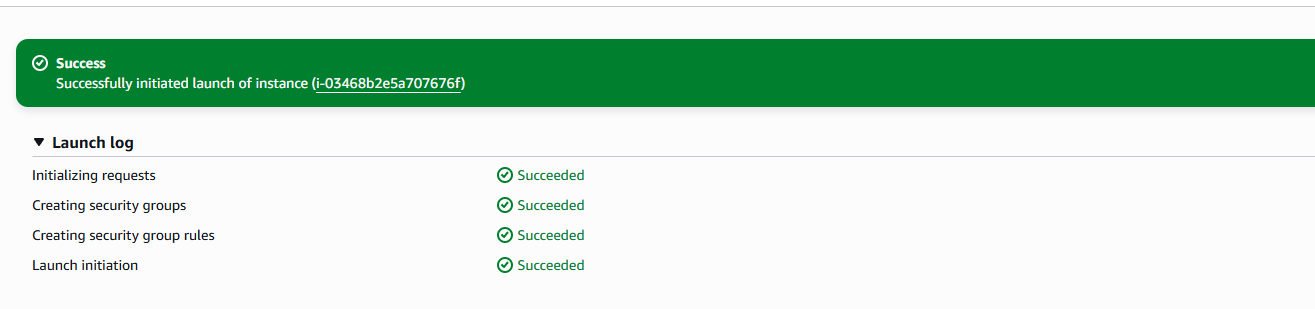

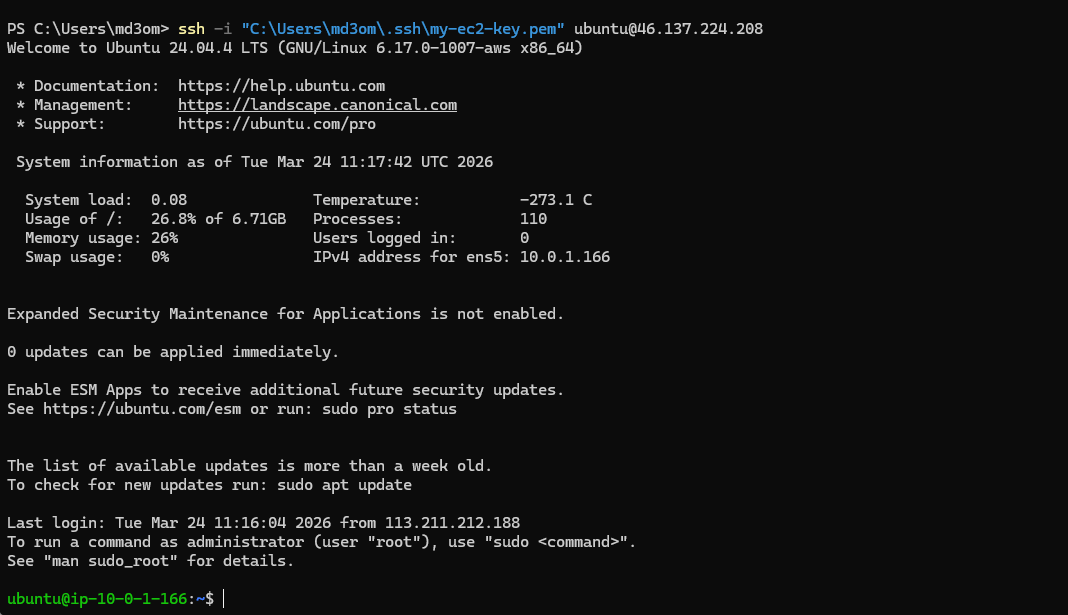
the last step is trying to ssh to the machine using the .pem key
public-ip "46.137.224.208" then finally connected to the machine
Finalizing the Phase 1
To wrap up my Phase 1
Phase 1 is officially in the books. By manually config the network, I made sure that my system isn’t just ‘online,’ but is sitting behind a custom configured firewall and routing system. This hands on experience with VPCs and Security Groups provided me with the ‘ground truth’ I need for my Final Year Project’s documentation. In the next post, ill move into Phase 2
What’s Next?
Phase 2: Application Deployment, i will begin by:
Installing the “Engine” (Node.js & Caddy).
Preparing the React/Node code importing the source code.
Handling db the Firestore db and API keys using the secure methods.
📚 References
You can find me online at: