Lab — GuardDuty Sample Findings: What It Actually Detects (Zero Cost, Zero Risk)
A beginner-friendly walkthrough of Amazon GuardDuty using its built-in sample findings generator — see every major finding category and severity level without attacking anything or spending a cent.

Objective
Enable GuardDuty, generate a full set of sample findings using AWS’s own built-in feature, and read through what GuardDuty actually detects across EC2, IAM, S3, EKS, and Lambda without running a single attack or touching a single dollar of infrastructure.
Time required: ~20 minutes. Cost: effectively zero. GuardDuty’s 30-day free trial covers this, and sample findings don’t consume any real analysis.
Why This Matters
Every lab in this series references specific GuardDuty finding types UnauthorizedAccess:IAMUser/InstanceCredentialExfiltration.OutsideAWS, Discovery:Lambda/AnomalousBehavior, Stealth:IAMUser/CloudTrailLoggingDisabled, and dozens more. If you’ve never actually seen the GuardDuty console, those names are just jargon.
This lab fixes that in one sitting. AWS ships GuardDuty with a “generate sample findings” button specifically so you can see the full catalog of what it detects every severity level, every resource type before you ever need it to catch something real.
What You’ll Need
- An AWS account (root or an IAM user/role with
guardduty:*) - Nothing else no EC2 instance, no VPC changes, no code
Walkthrough
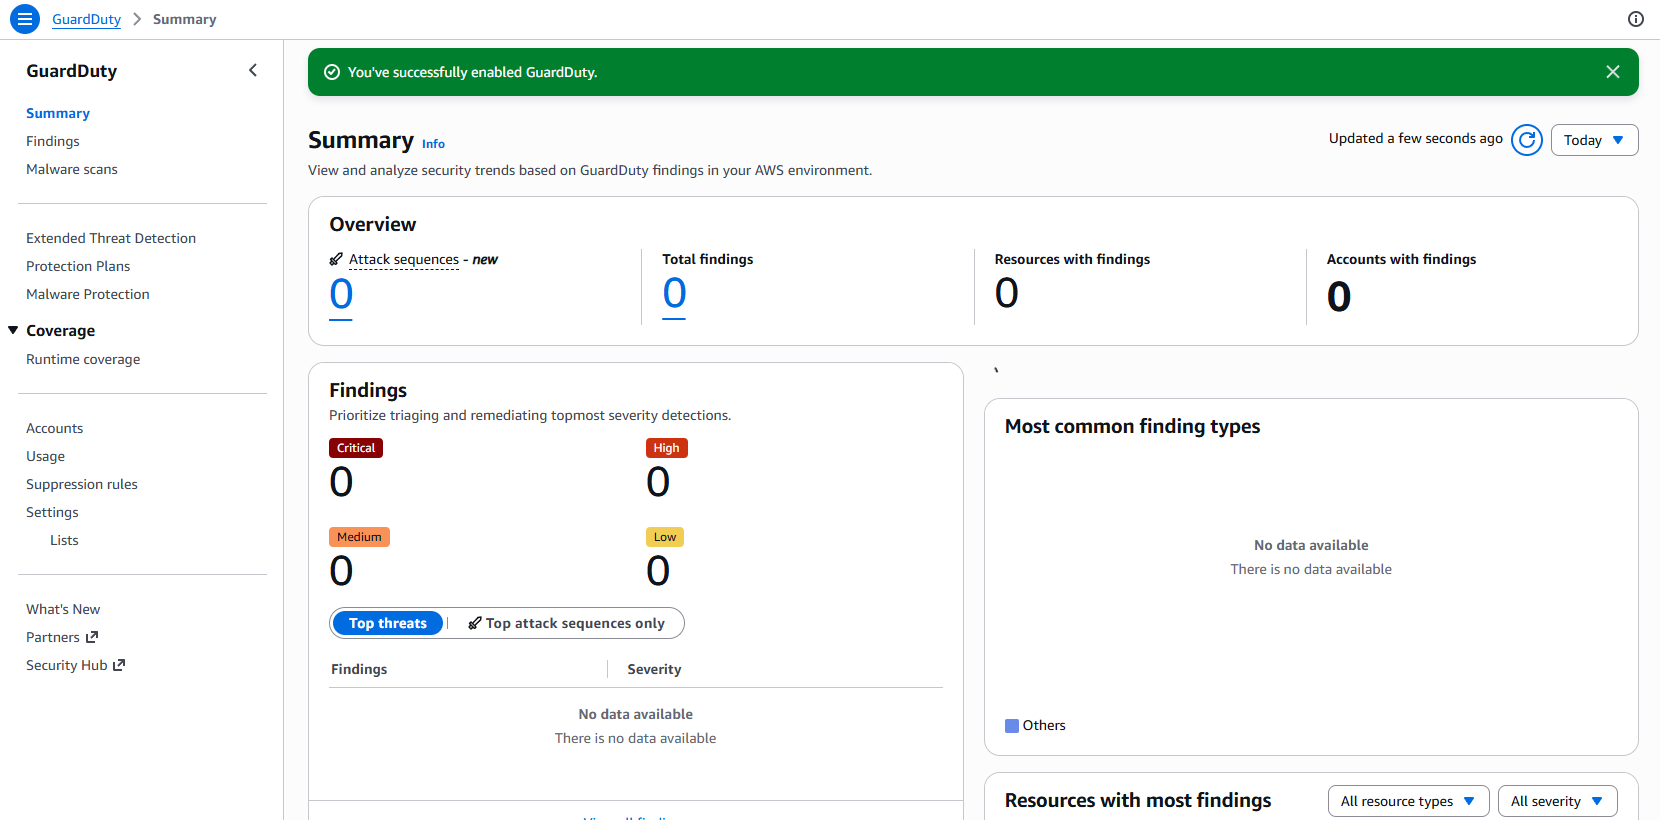
Step 1 — Enable GuardDuty
Console: GuardDuty → Get Started → Enable GuardDuty.
1
2
3
4
# Or via CLI
aws guardduty create-detector --enable
DETECTOR_ID=$(aws guardduty list-detectors --query 'DetectorIds[0]' --output text)
echo $DETECTOR_ID
Step 2 — Generate Sample Findings
1
aws guardduty create-sample-findings --detector-id $DETECTOR_ID
Or in the console: Settings → Sample findings → Generate sample findings.
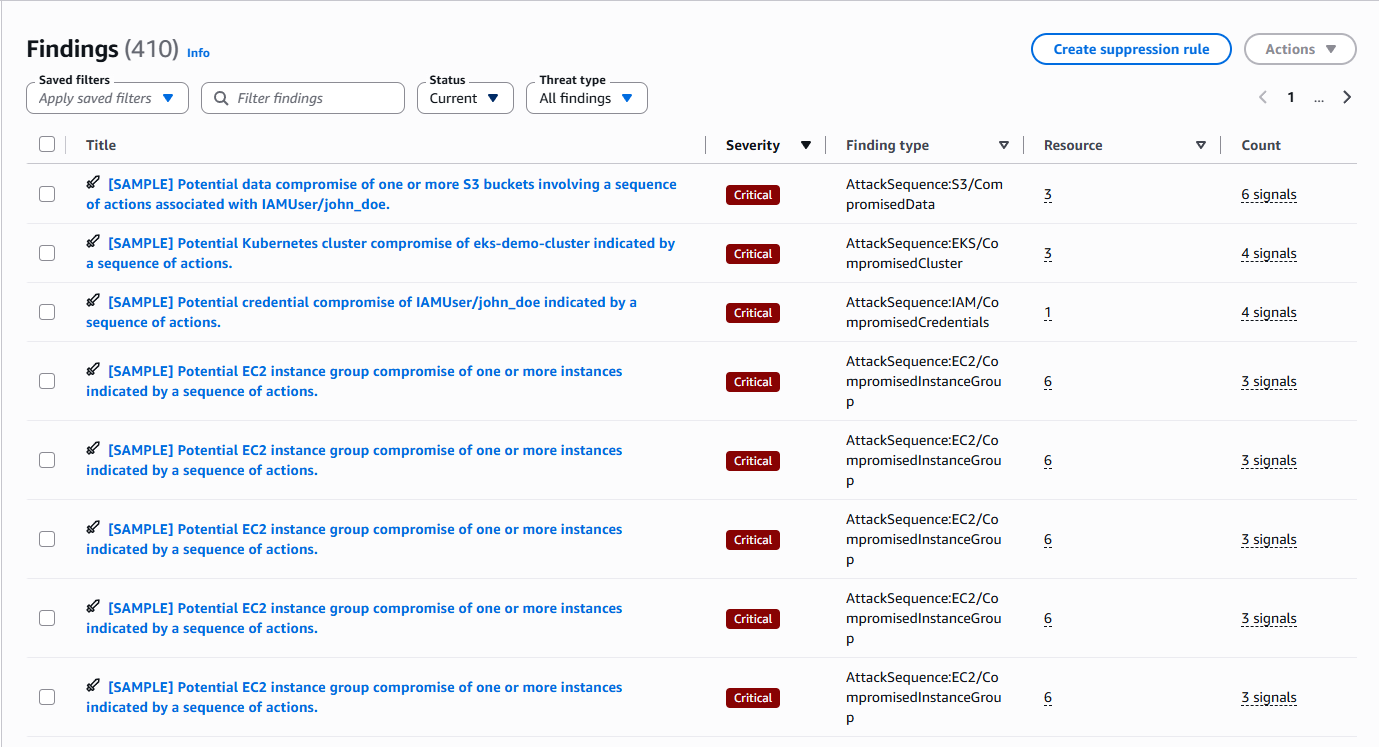
This populates your findings list with one example of every finding type GuardDuty supports prefixed [sample] so they’re clearly not real.

Step 3 — Read the Findings by Category
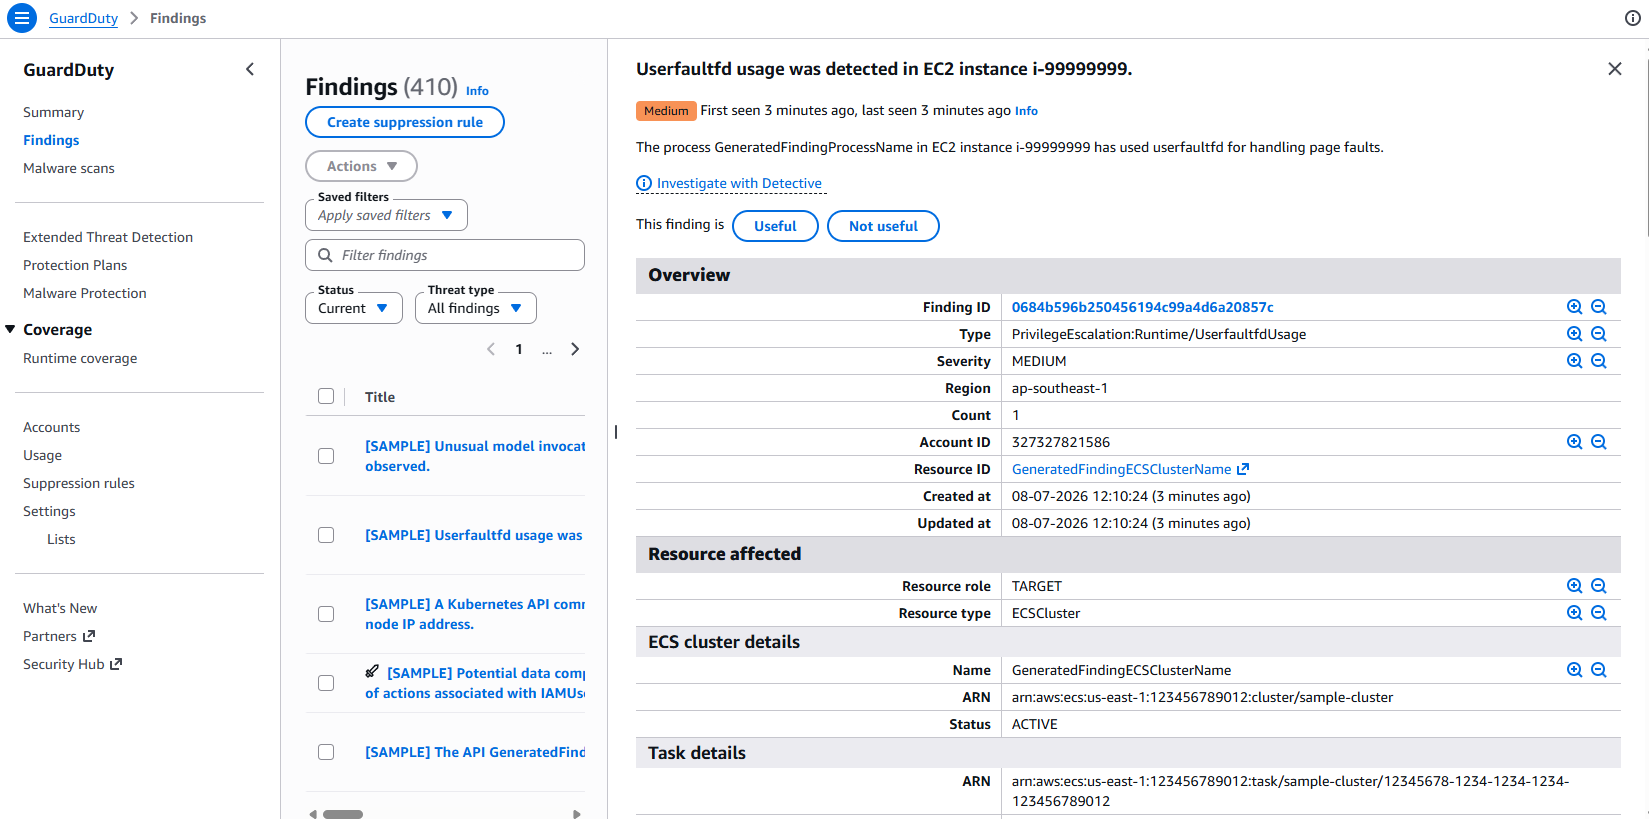
Open a handful of findings and note the pattern in every finding type name:
1
ThreatPurpose:ResourceType/ThreatFamilyName.DetectionMechanism
1
2
3
4
5
6
UnauthorizedAccess:EC2/SSHBruteForce          — someone is brute-forcing SSH on an instance
CryptoCurrency:EC2/BitcoinTool.B!DNS           — an instance is talking to a known mining pool
Recon:IAMUser/MaliciousIPCaller                — API calls from a known-bad IP
Persistence:IAMUser/NetworkPermissions          — a user is opening up network access unusually
Exfiltration:S3/ObjectRead.Unusual              — anomalous bulk reads from an S3 bucket
Backdoor:EC2/C&CActivity.B!DNS                  — an instance is contacting a command-and-control server
Click into 5-6 findings across different ThreatPurpose prefixes (UnauthorizedAccess, Recon, Persistence, CryptoCurrency, Exfiltration, Backdoor, Trojan, Impact, PrivilegeEscalation, Stealth) and read the finding detail panel resource affected, severity score, and the “finding type” description AWS provides inline.
Step 4 — Understand Severity Scoring
1
2
3
0.1 - 3.9   Low       — informational, often expected behavior in some environments
4.0 - 6.9   Medium    — worth investigating, not necessarily urgent
7.0 - 8.9   High      — likely malicious activity, needs prompt attention
Sort the findings list by severity (High → Low) and notice which finding types tend to land at each level credential exfiltration and backdoor findings cluster at High; reconnaissance and unusual-but-benign-looking activity cluster at Medium/Low.
Step 5 — Set Up a Trivial Notification (Optional but Recommended)
1
2
3
4
5
6
7
aws events put-rule \
  --name guardduty-sample-findings-demo \
  --event-pattern '{"source":["aws.guardduty"],"detail-type":["GuardDuty Finding"]}'

aws events put-targets \
  --rule guardduty-sample-findings-demo \
  --targets "Id"="1","Arn"="arn:aws:sns:REGION:ACCOUNT_ID:your-topic-arn"
This is the same EventBridge pattern used throughout the rest of this series for automated response worth wiring up now on sample findings so it’s already working before you ever need it for something real.
Step 6 — Disable GuardDuty
Lastly don’t forget to disable #GuardDuty You initially receive a 30 days trial to experience threat detection capabilities using Guard Duty in your AWS environment After that you will be charged ;)
Key Takeaway
- GuardDuty finding types follow a readable pattern:
ThreatPurpose:ResourceType/ThreatFamilyNameonce you know the vocabulary, every finding name in this series (and in your own account) tells you what happened at a glance - Sample findings cost nothing and touch nothing real there’s no reason not to do this before you ever need GuardDuty to catch something for real
- Severity score (0.1-8.9) is your triage signal: High findings get looked at first, always
Cleanup
1
2
3
4
5
6
# Delete the sample findings (optional — they don't cost anything to leave)
aws guardduty list-findings --detector-id $DETECTOR_ID --finding-criteria '{"Criterion":{"service.additionalInfo.sample":{"Eq":["true"]}}}' \
  --query 'FindingIds' --output text | xargs -n 50 aws guardduty archive-findings --detector-id $DETECTOR_ID --finding-ids

# If you don't plan to continue using GuardDuty right now:
aws guardduty delete-detector --detector-id $DETECTOR_ID
You can find me online at: